My favorite trout fishing partner for many years was Merrimon Hipps, known to all as Mike. Like me, he was a professional musician, a trumpet player in the Minnesota Orchestra. We traveled out West many times together, and took our share of fish from local waters. Now retired, he lives with his wife in Eden Prairie.
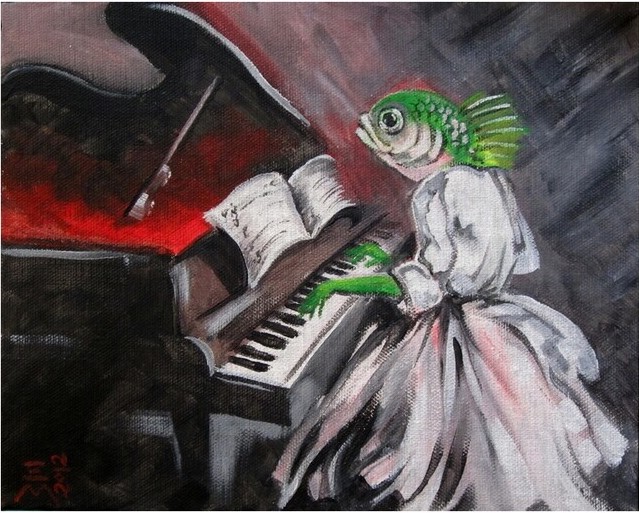
One evening, after dinner in Preston, MN and a fine day fishing the South Branch of the Root River, we were heading home in the car, windows open, listening to the Twins game on the radio. The reception wasn’t particularly good, and Mike tuned to Minnesota Public Radio instead. In those days, the mid 80’s, there was only one station, not three as there are today. A familiar piece of music was playing, Franz Schubert’s “Trout Quintet.” Based upon a song that Schubert wrote a year before, it tells the story of a trout caught by a fisherman. The music is full of slippery chromatic phrases in the piano accompaniment. Atypically, the quintet is set for piano, violin, viola, cello, and double bass. The composer wrote it in 1819 when he was twenty-two, but it wasn’t published until after his death. The radio performance that evening was excellent, and our conversation ceased as we listened.
After the final movement, we discussed the possibility that those of us who enjoyed sophisticated classical music might also enjoy the art of fly fishing, and that fly fishers might find that a refined taste in music might develop in those who knew how to handle a flyrod.
The Phipps Center for the Arts was still in its old building, but just out the door and across the street was the Hudson park and bandshell. I asked four string players from the St. Paul Chamber Orchestra to join me in performing the “Trout Quintet” on the main stage, and Mike got volunteers from both Kiap-TU-Wish and Twin Cities Chapters of TU to tie flies in the lobby and give casting lessons on the lawn afterwards.
We set up our concert and demonstrations on a sunny Sunday afternoon in June, 1985. At 1pm, we played the quintet, and at 4pm there were still people fly casting on the lawn and watching talented fly tiers work. Neither one of us took attendance and the concert was free. Perhaps a few of you who read this might remember the event.
A Minimal Arsenal of Flies for Fooling Fish in Local Waters All Season Long. By Skip James
I know fishermen who carry every fly they own in their vests, and others who carry only those that imitate the prevailing hatch. There are flies that work well, casting to fish you can see, probably feeding close to or in the surface, and others that you use when you are searching for promising water. Here are the six I wouldn’t ever be without, whether here in Wisconsin or on a big western river. I provided enough material info so you can tie them yourself, and, if you have questions, call me. 715-690-4503 Tight lines!
This is my number one ‘nymph’, for fishing in streamy water, near undercut banks, in deep holes. Back in 1971, I was catching trout in a pool on the Kinni that now is under the Hwy 35 Byway, and another angler, coming downstream, who identified himself as Andy Miner, asked to see my fly. When he looked at it, he said: “What a ‘mother’ that one is” and the name, though pejorative, stuck. This is the same Andy Miner who bred Blue Andalusian roosters for their neck hackles and was the original supplier to Buck Metz in Pennsylvania. I tied flies for Andy, in exchange for necks, for several years.
Weighted “Mother” #8-10
Thread: Gray, 6/0
Hook: standard dry fly, down eye
Weight: lead-free wire on the front half of the hook, under the dubbing Dubbing: Dubbing: Muskrat, complete with guard hairs, well picked out
Rib: Gold flat tinsel
Hackle: Grey Grouse soft hackle
This Caddis imitation is my number two ‘nymph’, for riffes particularly.
Caddis Pupa #12-16
Thread: Dark green, 8/0
Hook: Curved, pupa down eye
Bead: Copper
Dubbing: Medium green SLF or other similar, well picked out Rib: Medium copper wire
These two I use as dry flies, fished to risers, sometimes dead drift, sometimes ‘on the swing.’ I owe a debt of thanks to the author of “Designing Trout Flies”, Gary Borger, for his concept of a ‘wet-dry’ fly. Early season, use the green one. When Sulphurs appear, use the yellow one.
Little Green Thing: #16-18
Thread: Light green, 8/0
Hook: standard dry fly, down eye Dubbing: Medium olive SLF
Hackle: Light grey Grouse soft hackle, sparse, same length as hook shank
Little Yellow Thing: #16-18 Thread: Yellow, 8/0
Hook: standard dry fly, down eye Dubbing: Medium yellow SLF
Hackle: Light grey Grouse soft hackle, sparse, same length as hook shank
On our local waters, you need a great Trico imitation, since that hatch occupies so much of the season. The advantage of this one is that you can see it from forty feet away in riffes, where the trout are rising. The Badger hackle’s black center gives the impression of a solid thorax, although with no additional bulk or weight. The gold edges show up very well in morning light.
Skip’s Trico #22
Thread: Black, 8/0, wrapped over the entire shank Hook: standard dry fly, down eye
Dubbing: none
Tails: 3 strands clear Microfibetts, spread wide.
Hackle: #22 Badger (black center, cream edge) wrapped from middle of the hook to the eye, and clipped flat on the bottom. Whiting Farms sized hackle packs is a good source.
Your favorite Grasshopper pattern, #10, long shank.
My favorite, probably because it was invented by Bob Mitchell, is the “Jolly Green Giant.” But if you have confidence in a different hopper pattern, use it.
Tie your own leaders, to your personal specifications, and save money to boot! Here’s my system. A typical 9’ tapered leader costs around $4.00-$6.00 and usually the cost is the same regardless of tippet size, 0X-7X. Most commercial leaders are clear with a perfection loop tied onto the butt end with a typical butt section diameter being around .020 inches .
I have made my own leaders for years using the most basic monofilament, Berkley Trilene XL. I purchase four inch spools of clear mono in several sizes and have a special spool box made by Plano called a ‘Line Spool Box’ that I store them in.
The little black objects are grommets through which you can thread the leader material, and with the box closed, you can measure out any amount of material you want for your leader. The box is currently available for about $14-$17.
I personally don’t think that a trout, even one with glasses, can tell the difference between a 5X and 6X tippet, so I carry only two spools, in 2lb and 4lb Trilene XL, in my chest vest. The 4lb is a fat 4X, and the 2lb is a slender 5X. The latter works great with a size 22 Trico or small nymph, and the 4 pound delivers a streamer or a grasshopper with precision and authority. The four inch spools in my box are: 25lb, 17lb, 12lb, 10lb, 8lb, and 4lb. I also have a spool of 30 pound test that I nail knot to my six and eight weight bass fly lines. The 25lb is just fine for three to five weight lines. There are lots of leader formulas out there, even a few books. Experiment and find out what works best with your equipment. If you’re afraid you might fumble a blood knot, tying one leader will provide you with six to eight chances to practice. And, there are many videos on YouTube to remind you how. Generally speaking, you’ll want about a third of your leader to be the butt section, another third to be the tapered portion, and the rest tippet. I love long tippets. Fill that box with four inch Trilene XL spools, and the cost, with the box, is less than $50, and you can make more leaders than you can ever use in a lifetime.
Anglers, how many of us have promised ourselves to simplify and refine our trout fishing gear?… when, according to the carol, “earth stood hard as iron,” and fishing was a dream of Spring? I know I have. Here are a few of my ‘kept’ resolutions.
I used to carry a lanyard with a ring on the end, with eight spools of tippet. I wondered at the ability to market this nylon at outrageous prices for ridiculously small amounts of material. But I replaced it only occasionally, and the stuff that always ran out first was 5X and 3X. Then I discovered that at Fleet Farm I could purchase Trilene XL in 2lb and 4lb test, on the same size spools as fancier tippet. The diameter of the 2lb is a little less than 5X, and that of the 4lb is a little fatter than 3X. That season, I fished with only two spools. And would you believe it? The fish didn’t seem to mind.
At one time in my fishing life, I used to sew vests. The ladies would look at me strangely at fabric shops where I examined dirt-colored cloth of various weights and weaves. I sold my vests for $100, but I never made any serious money at it. I made one for Bob Mitchell, and my fishing partner, and one for myself, of course. I thought the arrangement of pockets was much smarter than the Orvis one I had used previously. But then, I saw this little vest pack with a central zip compartment for a standard fly box, two side pockets for smaller boxes, and room for two tippet spools, tools, a flashlight, strike indicator yarn, and some non-lead split shot. I bought it and have never used my vest again. In fact, I bought two, just so I’d have a spare if anything happened to the first one.
Another result of the Trilene experiment was an examination of leaders. I had been buying knotless leaders because some guide told me that knots in a leader would catch bits of salad in certain rivers, like the Big Horn, particularly if you had a powerful fish on who dove into the weeds. But upon thoughtful reflection, that meant that the weight of the green stuff would slide down your leader until it reached the very thinnest and most breakable part, causing you to lose fish. On the other hand, if a hand-tied leader had knots at regular intervals, the gunk would not slide to the tippet, but be held away from it. I began making my own leaders, tying them with blood knots according to various formulas espoused by respected authors. I used large spools of Trilene XL, which was very cheap, and very handy. I haven’t bought a tapered leader in years.
These are just three New Year’s resolutions that have worked out for me. When fishing is impossible, think about ways to improve your own technique and equipment. Spring will come, eventually.
I’m pretty sure that those of us who are blessed with children have attempted to share the joys of our sport with our children. If you’re like me, the results are definitely a mixed bag. My eldest son loved the ‘time with dad’ that we spent together on trout streams, and even though he was given plenty of tackle and opportunities to pursue trout on his own, it never ‘took.’ My younger son had the same attitude, with the same result, until one day, in his early forties, he sent me an email.
Now Matthew loved hiking, snowboarding, climbing mountains, and had chosen to live in Denver, pursuing his career as a videographer, where he was close to all those things. It seemed he had hiked into a secluded mountain lake, and while setting up his camp noticed that there were fish rising near the shore. When he returned home, he sent me the propitious email that asked: “Could I catch those rising fish if I had the right equipment?” Needless to say, a complete pack-rod outfit was sent to him by me the next day, and a few days later he sent back photos of several nice Rainbow trout. Since then, he has been fly fishing almost everywhere he travels.
Here comes the best part! I had fished in the West quite a bit, and Matthew and I arranged to spend a week or two together every Fall, fishing in Yellowstone Park, the Paradise Valley spring creeks, the mountain lakes, and living very cheaply at Chico Hot Springs resort just across the river from Emigrant, MT. Matt has an old Toyota Forerunner that he has put at least two new engines into. I would fly to Bozeman, he would meet me there, load up my stuff in the truck, and after a brief stop at The River’s Edge Fly Shop for licenses and banter, we would drive over the mountain to the Livingston side, and then south on 89 to Emigrant, the only ‘blinker light’ on the road, turn left at the general store/gas station/laundromat/liquor emporium, cross the Yellowstone river and proceed to East River Rd., turning left to Pray, then turning right at the dumpsters. The road to Chico Hot Springs Resort, although straight as an arrow, was occasionally closed to car traffic, while it was being used as a runway for small planes to land.
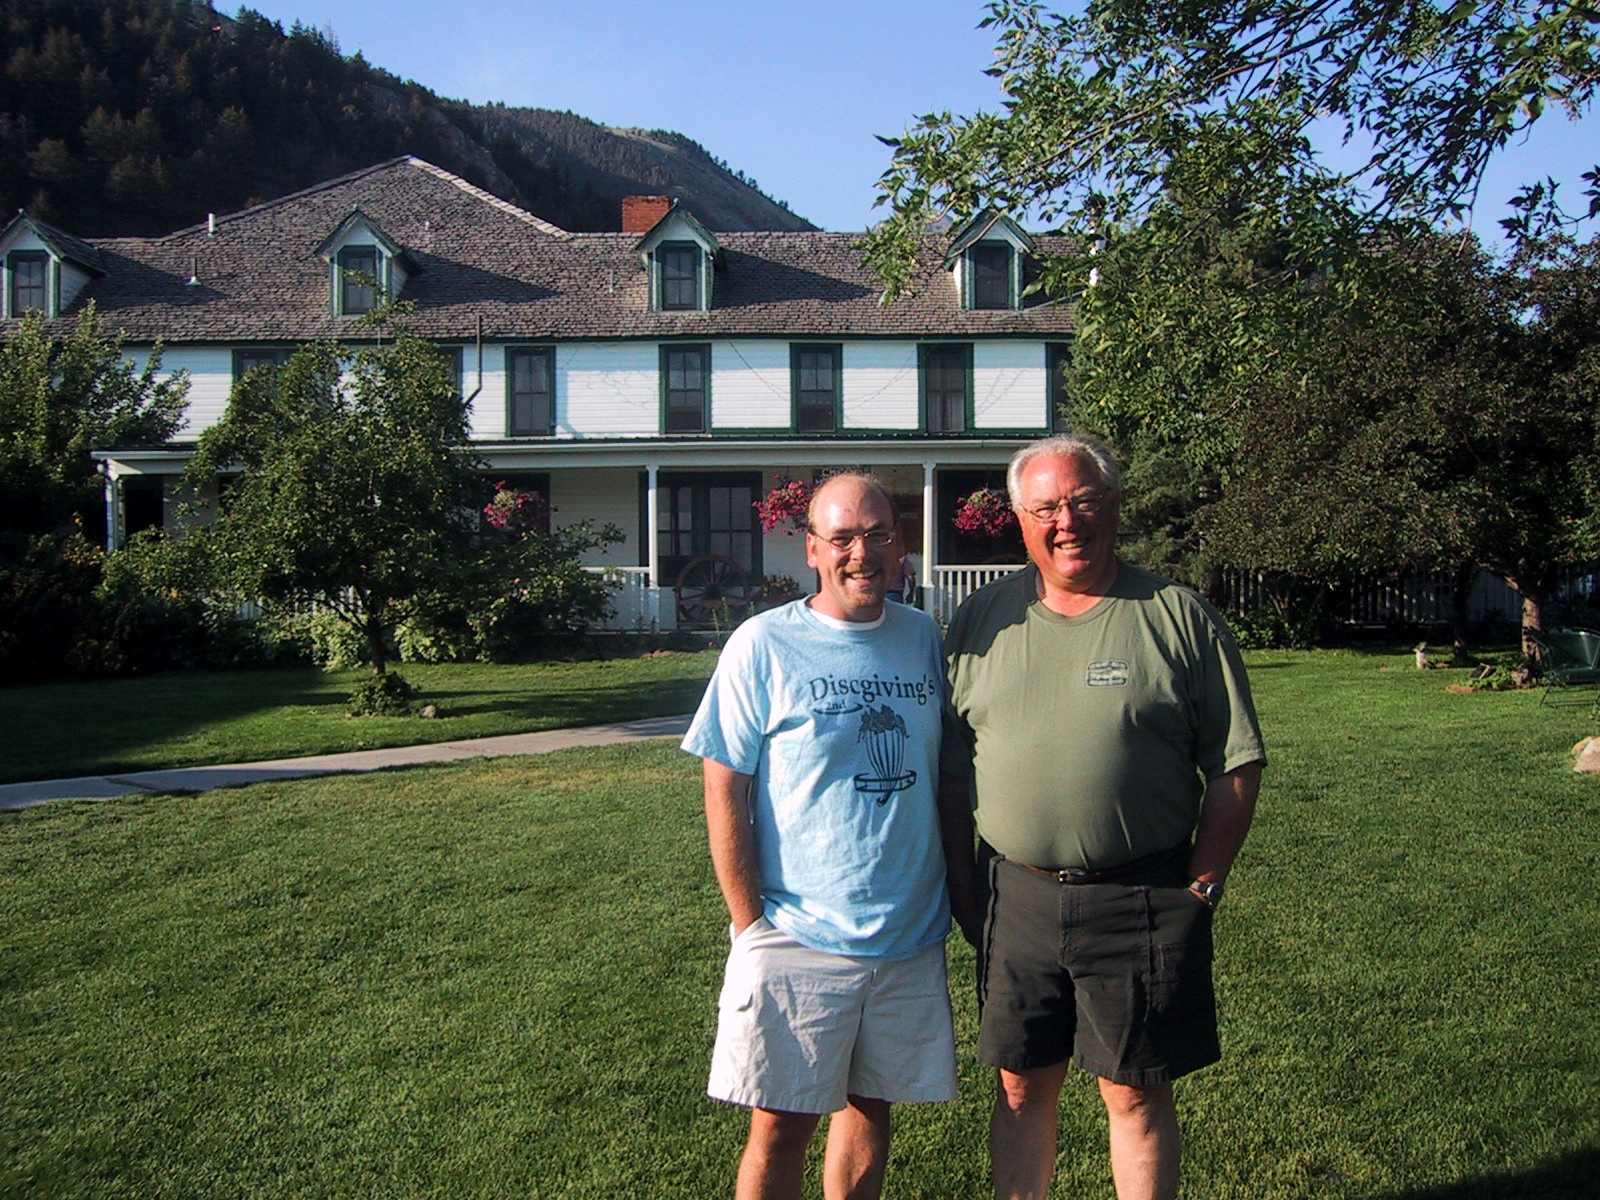
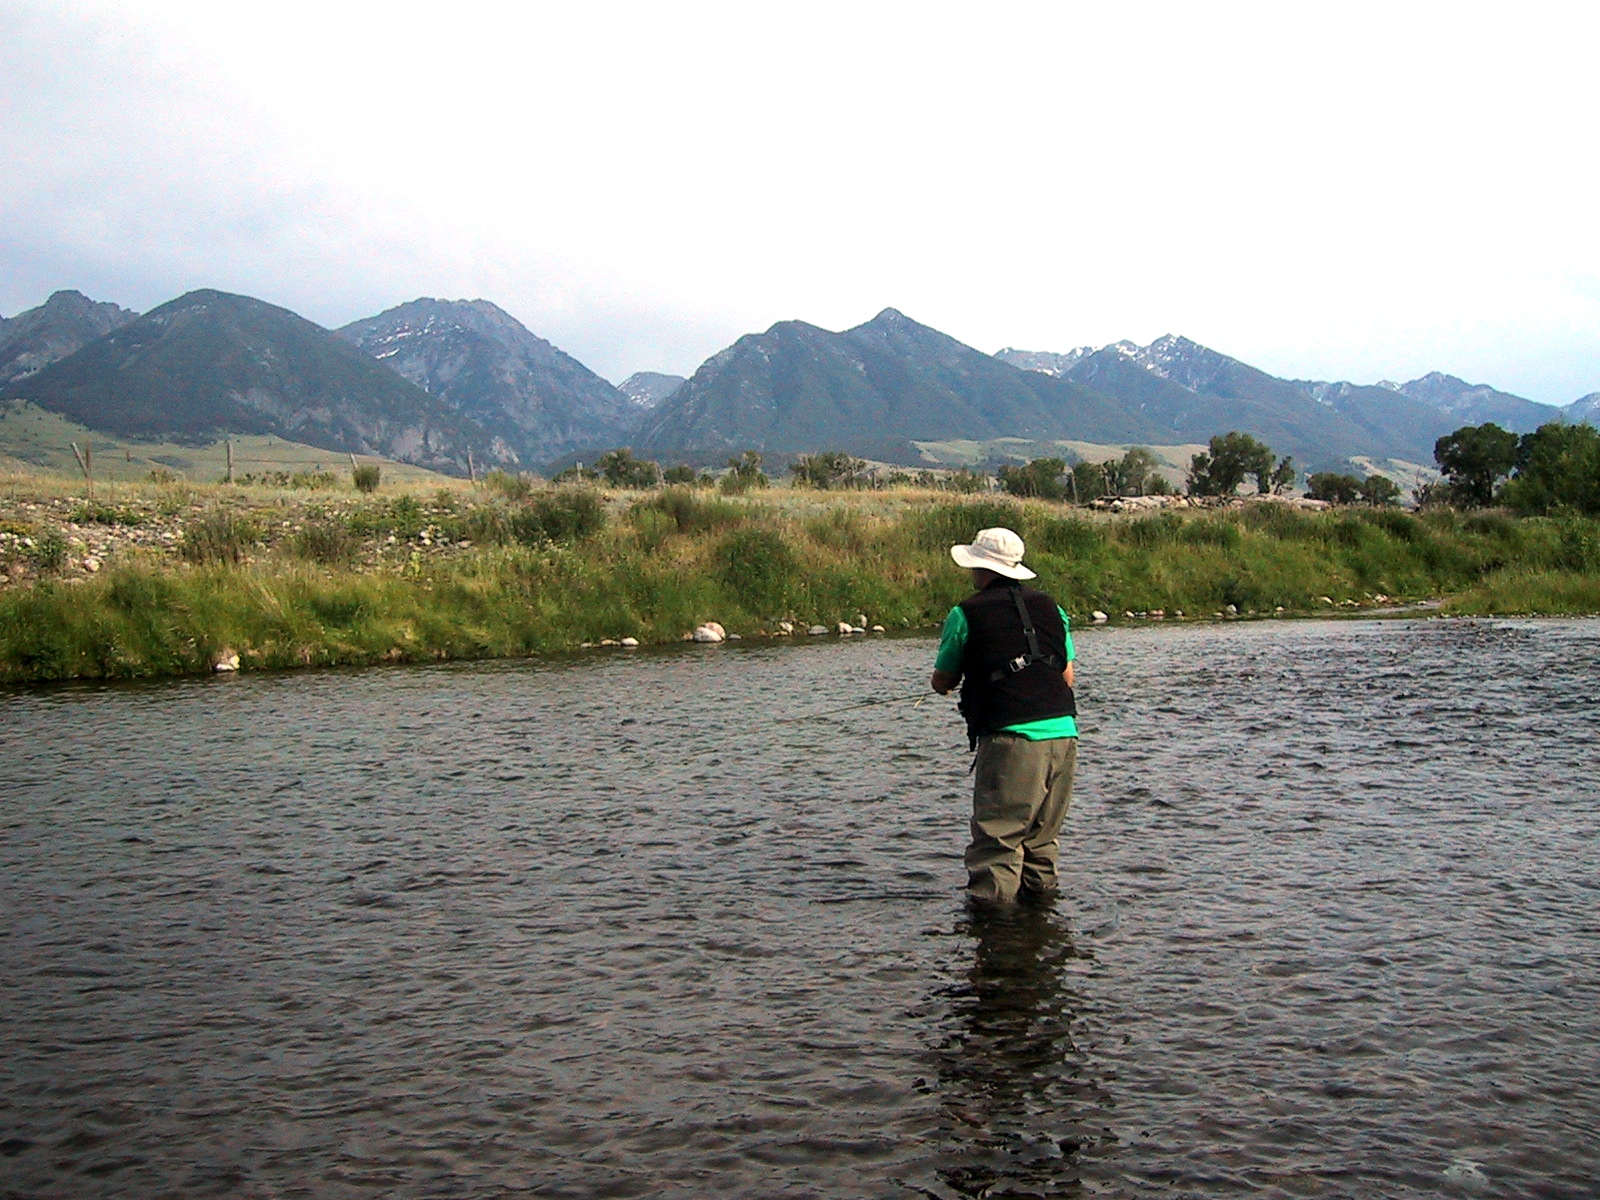
We used to stay in a double room on the second floor of the Main Lodge for $60/night, with a bathroom down the hall. It was handy to the pools as well. I just checked and the price per night is now $85. The food at Chico is outstanding. We particularly liked the breakfast buffet. In certain years we forsook the Yellowstone area and Chico for the Bighorn, where we stayed at Cottonwood Camp. Here are photos of Matthew and his proud dad on the lawn at Chico, and of Matt watching his strike indicator intently as he pursues the Browns and Rainbows of Armstrong’s Spring Creek.
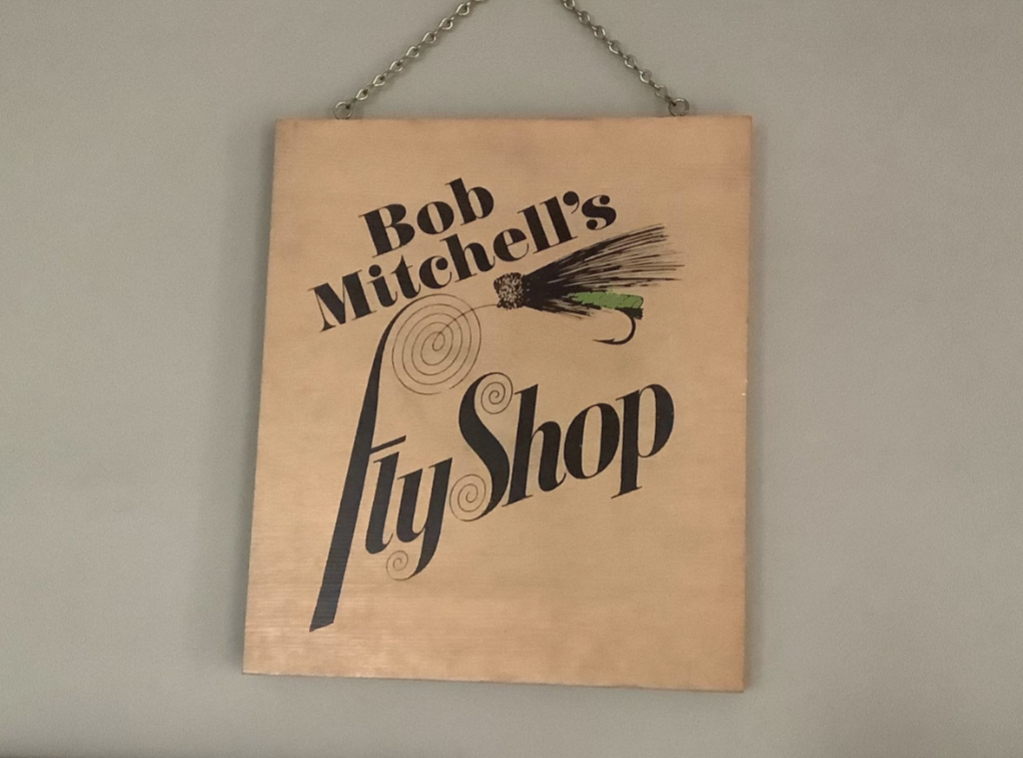
At the original Bob Mitchell’s Fly Shop in Lake Elmo, across the street from the second iteration, you could smell the coffee on your way down the stairs. There was a wooden desk just to the left, where, more often than not, Jean Mitchell was knitting, reminding me of Madame LaFarge during the ‘terror’ in 18th century France. Bob might be tying flies at the vise that was always ready for customers to use, and a group of people, mostly male, was gathered around a table with mugs that had their names on them, telling lies about encounters with big local trout. Dr. Patrick Daly, with those twinkling Irish eyes and turned up black eyebrows, was a Saturday morning regular, as was Dick Schwartz, who loved to tout his Orvis ‘Far and Fine’ as a more than worthy competitor to Sage’s 479LL, an assessment I vigorously opposed. Jonathan Jacobs was usually there too, sometimes with his little daughter, a former board member of our TU chapter. He insisted on calling me Layton instead of Skip like everybody else did, so I will always refer to him by his full name rather than Jon. Legendary guide and caster Bob Nasby showed up to.
Dry Fly Dick Frantes was seen often on the Kinni, but rarely in the fly shop. You could always tell Dick from others on the stream because he wore a white pith helmet when he fished. Dan Bruski was a regular, as were Don Ausemus, Kevin Becker, Denny McGinn, Bill Stieger and Dean Hansen. Dennis Hook and Jan Jancourt brought in bamboo rods for our inspection. A few bamboo rod builders brought in their wares to show off. The names of some of those guys escape me now, but the recent Kiap-TU-Wish ‘Hot Dog Boil’ at the Ellsworth Rod and Gun Club reacquainted me with some of them, whose faces I remembered, but whose names escape me still. In order not to display my ignorance, I conversed with these guys without letting on that I didn’t remember their last names.
In the 70’s and 80’s, I was privileged to be as much an employee as a customer. My pay for helping out was a 10% discount, which, my wife would tell you, I used way, way too much. I could sell rods, reels, materials, supplies, and make change from the cash register, even though there was no cash register. Money was kept in a small gray metal box on the desk. In those days, the latest Graphite III offering from Sage sold for a bit over $200. As I write this, I’m bidding at Ebay on a used, two-piece, 389LL for much more than twice what It cost to buy brand new.
On the other side of the parking lot was a field of grass, where a few of us taught fly casting to beginners, and tried to work out the kinks in the technique of old timers. You could try out a new rod, mounted with a reel and line from the upper dresser drawer in the fly shop, each of which was carefully labeled with line weight and type, then come back inside and buy the rod…or not. When we sold reels, we filled them with backing from a spool that was suspended from the ceiling, and used the right knots to tie the backing both to the reel spool and the new fly line. There were only two manufacturers of lines that we sold at the shop in those days, Scientific Anglers and Cortland, and there were heated arguments about the superiority of one over the other. There were fly tying classes offered, and I taught a few of them. Often, the class focussed on a single skill, like tying parachute dry flies, or soft hackles, or bead heads. Most of the materials in those days were actual feathers and fur, metallic tinsel being the most common inorganic material. Of course, as fellows learned to tie, and to have confidence in their creations, they bought rods, lines and reels, tippet material, hooks, hackle necks and fur patches. I was lucky enough to be part of a happy, successful business. Bob and Jean enjoyed their fishing as much as anyone. They lived in a house overlooking Lake Mallalieu in Hudson, and Bob could be found early summer mornings fishing the Trico hatch just upstream of the bridge on the main branch of the Willow. Jean said that one of her favorite things was to float the Bighorn River with famous guide, Ron Granneman, and stay at the Bighorn Angler in Ft. Smith. The year after the Sage 389LL was introduced, Bob took one on a float trip and returned to the fly shop to say, incredulously, that it was the only rod he fished with.